Image upload in production
前面使用的圖片上傳程序在 development 環境中用起來不錯,但圖片都存在本地端系統中(如 app/uploaders/picture_uploader.rb 的 storage :file 這行所示),在 production 環境中這麼做顯然不太好。
所以我們要使用雲端儲存服務來儲存圖片,和 APP 所在的檔案系統分開。
在 Heroku 中儲存的檔案都是暫時性的,重新部署後會把之前上傳的檔案刪除
我們要使用 fog gem 來設定 APP,在 production 環境中使用雲端儲存:
app/uploaders/picture_uploader.rb
class PictureUploader < CarrierWave::Uploader::Base
  include CarrierWave::MiniMagick
  process resize_to_limit: [400, 400]

  if Rails.env.production?
    storage :fog
  else
    storage :file
  end

  # Override the directory where uploaded files will be stored.
  # This is a sensible default for uploaders that are meant to be mounted:
  def store_dir
    "uploads/#{model.class.to_s.underscore}/#{mounted_as}/#{model.id}"
  end

  # Add a white list of extensions which are allowed to be uploaded.
  def extension_white_list
    %w(jpg jpeg gif png)
  end
end
上面使用了 production? 布林值方法根據所在的環境選擇儲存方式:
if Rails.env.production?
  storage :fog
else
  storage :file
end
雲端儲存服務有很多,我們要使用其中一個最受歡迎且支援度比較好的:Amazon.com 的 Simple Storage Service (S3)。
S3 是付費服務,不過測試這個應用,每月的費用不會超過一美分
基本步驟如下:
- 註冊一個 Amazon Web Services 帳號
- 透過 AWS Identity and Access Management (IAM) 建立一個使用者,記下 access key 和 secret key
- 使用 AWS Console 建立一個 S3 bucket(名稱自訂),然後賦予上一步建立的使用者讀寫權限
關於這些步驟的詳細說明,可以參考 S3 documentation,如果有需要的話就直接 Google。
實作時,把第 3 步驟的意思弄混了,以為要在 bucket 增加 permissions 建立使用者權限,但其實不用,因為建立 IAM 的同時就會設定權限了,詳情請看 Creating Your First IAM User and Administrators Group 的設定
建立並設定好 S3 帳號後,就要建立並設定 CarrierWave 文件:
config/initializers/carrier_wave.rb
if Rails.env.production?
  CarrierWave.configure do |config|
    config.fog_credentials = {
      # Configuration for Amazon S3
      :provider              => 'AWS',
      :aws_access_key_id     => ENV['S3_ACCESS_KEY'],
      :aws_secret_access_key => ENV['S3_SECRET_KEY'],
      :region                => ENV['S3_REGION']
    }
    config.fog_directory     =  ENV['S3_BUCKET']
  end
end
注意,如果做了這些設定連不上 S3,可能是區域位置的問題。有些使用者要在 fog 中增加 :region => ENV[’S3_REGION’],然後在 terminal 執行 heroku config:set S3_REGION=<bucket region> 指令,其中 eu-central-1。如果想查詢你的區域,請參考 Amazon 文件 Regions and Endpoints。
自己多加了一個 :region 設定
和 production 環境中 email 的設定一樣,上述的設定也使用 Heroku 的 ENV 變數,沒有直接在程式碼裡寫入敏感訊息。在 Section 10.3 中,這些變數是由 SendGrid add-on 自動定義,但在這個例子中,我們要自己定義,方法是使用 heroku config:set 指令:
$ heroku config:set S3_ACCESS_KEY=<access key>
$ heroku config:set S3_SECRET_KEY=<secret key>
$ heroku config:set S3_REGION=<region>
$ heroku config:set S3_BUCKET=<bucket name>
注意,
S3_ACCESS_KEY=<access key>之間不能有空格!
設定完之後,我們就可以準備提交和部署。建議更新 .gitignore,忽略圖片上傳的資料夾:
.gitignore
# See https://help.github.com/articles/ignoring-files for more about ignoring
# files.
#
# If you find yourself ignoring temporary files generated by your text editor
# or operating system, you probably want to add a global ignore instead:
#   git config --global core.excludesfile '~/.gitignore_global'

# Ignore bundler config.
/.bundle

# Ignore the default SQLite database.
/db/*.sqlite3
/db/*.sqlite3-journal

# Ignore all logfiles and tempfiles.
/log/*.log
/tmp

# Ignore Spring files.
/spring/*.pid

# Ignore uploaded test images.
/public/uploads
然後提交、合併:
$ bundle exec rake test
$ git add -A
$ git commit -m "Add user microposts"
$ git checkout master
$ git merge user-microposts
$ git push
接著部署、重設資料庫、重新把 seed data 載入資料庫:
$ git push heroku
$ heroku pg:reset DATABASE
$ heroku run rake db:migrate
$ heroku run rake db:seed
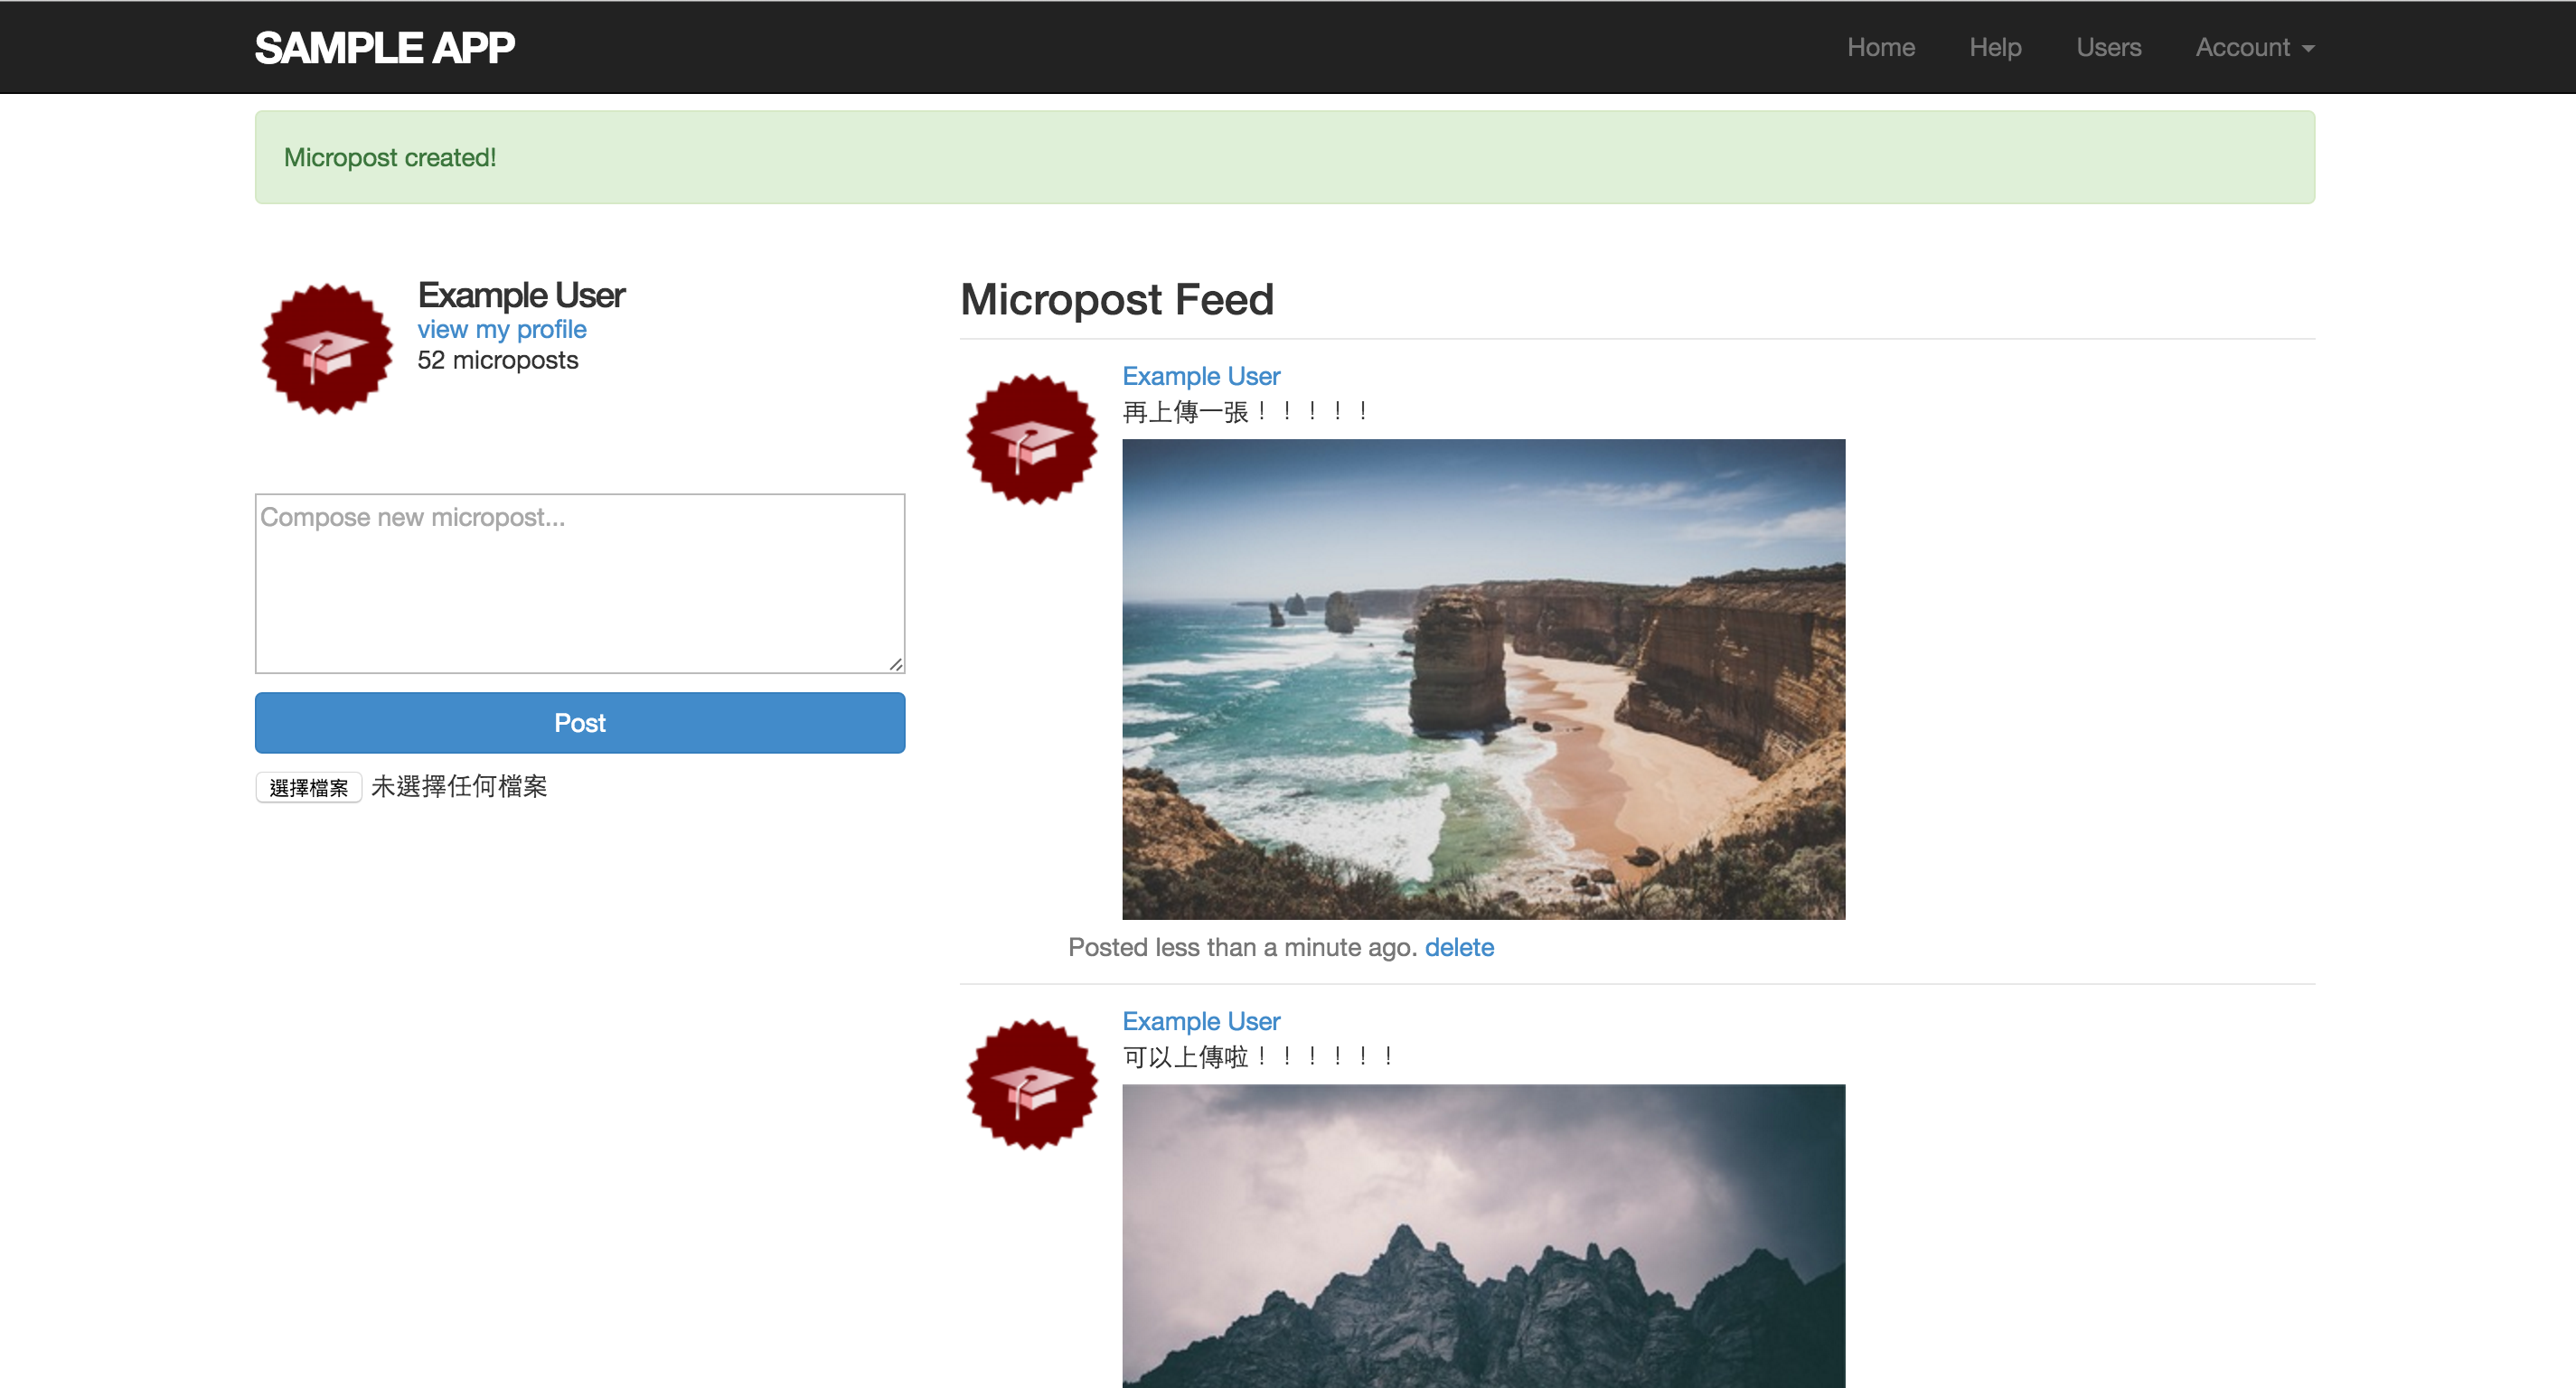
因為 Heroku 已經安裝 ImageMagick,所以在 production 環境中調整圖片尺寸和上傳圖片的功能都能正常使用: